
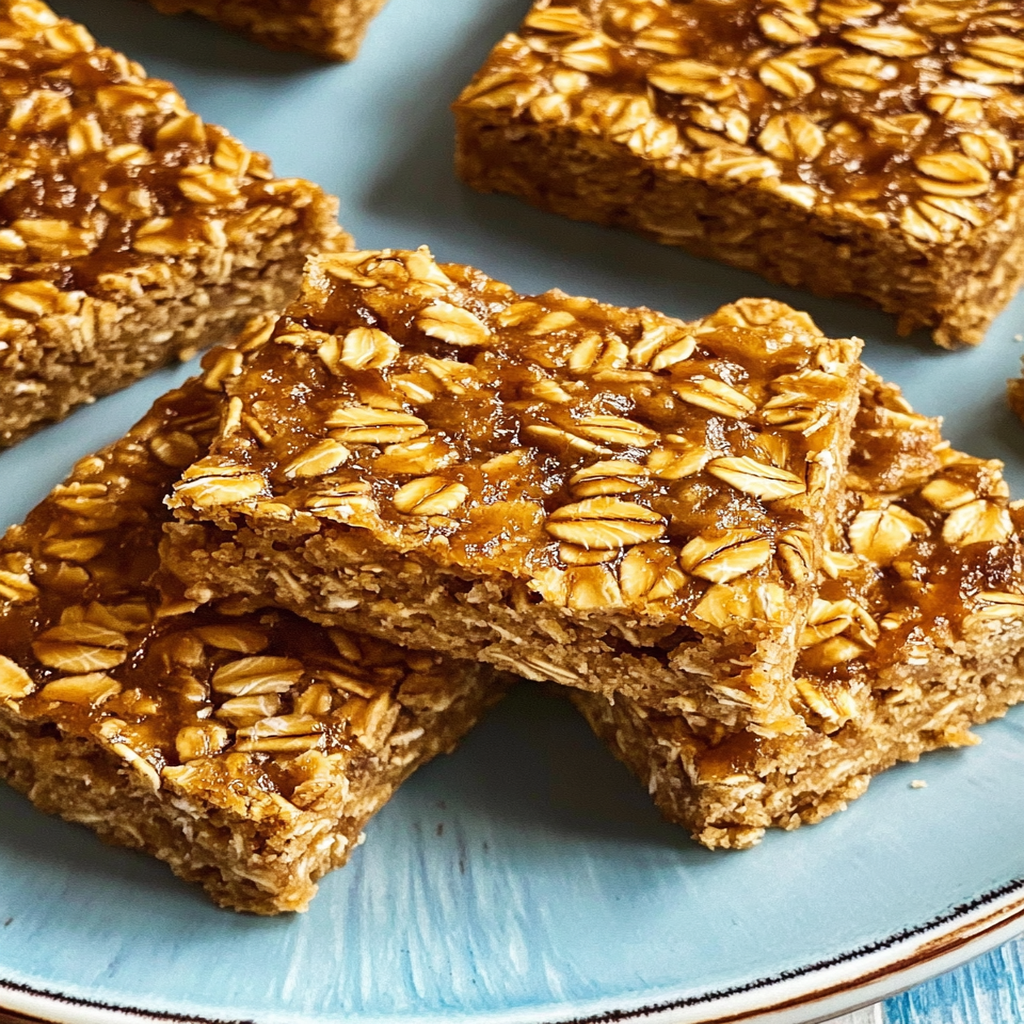
Baked Oatmeal Trailside Treat Bars are a delicious and nutritious way to enjoy oatmeal in a portable form. Perfect for busy mornings or as a healthy snack during hikes or road trips, these bars combine wholesome ingredients that provide lasting energy. With their delightful texture and customizable flavors, they are sure to become a family favorite. Not only are they simple to prepare, but they also allow you to incorporate your favorite fruits, nuts, or even chocolate chips for an extra touch of indulgence. In this article, we will guide you through the process of making these tasty treats step by step. Get ready to fuel your adventures with these satisfying Baked Oatmeal Trailside Treat Bars!
Why You’ll Love This Baked Oatmeal Trailside Treat Bars
- Quick and Easy: Minimal prep time and straightforward steps make this recipe stress-free, even for novice cooks
- Flavorful and Versatile: Enjoy outstanding flavor with ingredients you can easily customize by adding your favorites or adjusting spices
- Perfect for Any Occasion: Ideal for casual gatherings, holiday celebrations, or weeknight dinners
Ingredients for Baked Oatmeal Trailside Treat Bars
Here’s what you’ll need to make this delicious dish:
- Rolled Oats: Use old-fashioned rolled oats for the best texture; they hold together well when baked.
- Bananas: Ripe bananas add natural sweetness and moisture; mashed bananas work best in this recipe.
- Nut Butter: Choose your favorite nut butter like almond or peanut butter; it adds creaminess and richness.
- Honey or Maple Syrup: These natural sweeteners enhance flavor without overpowering; adjust sweetness based on preference.
- Dried Fruit and Nuts: Incorporate a mix of your choices such as cranberries or walnuts for added texture and flavor.
The full ingredients list, including measurements, is provided in the recipe card directly below.
How to Make Baked Oatmeal Trailside Treat Bars
Follow these simple steps to prepare this delicious dish:
Step 1: Preheat the Oven
Preheat your oven to 350°F (175°C). Line an 8×8-inch baking pan with parchment paper or spray it lightly with cooking spray.
Step 2: Prepare the Wet Ingredients
In a large mixing bowl, mash the ripe bananas thoroughly. Add the nut butter and honey (or maple syrup) into the bowl and mix until smooth.
Step 3: Combine Dry Ingredients
In another bowl, combine rolled oats and any spices like cinnamon if desired. Mix well before adding them to the wet ingredients.
Step 4: Fold in Extras
Gently fold in your choice of dried fruits and nuts into the mixture until evenly distributed.
Step 5: Bake the Mixture
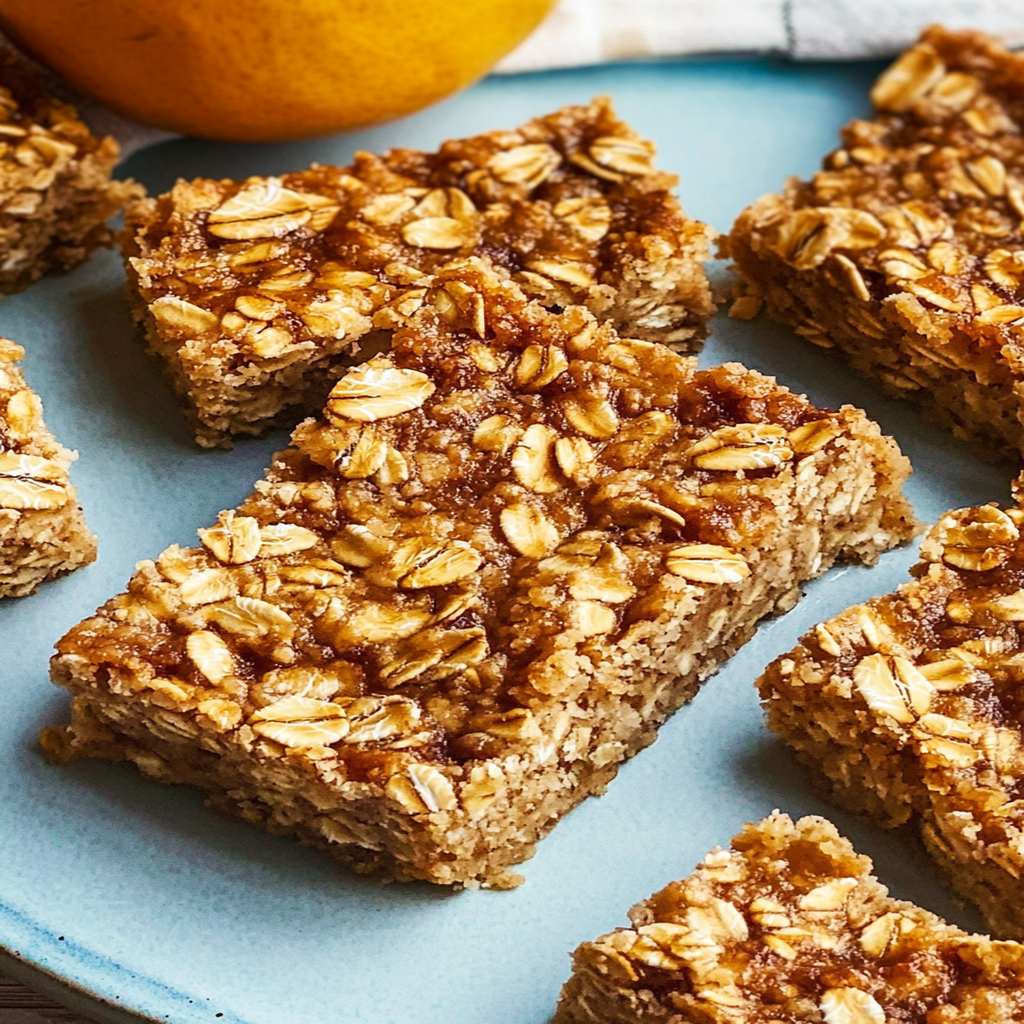
Pour the combined mixture into your prepared baking pan. Spread it out evenly using a spatula. Bake in the preheated oven for about 25-30 minutes until golden brown.
Step 6: Cool and Slice
Once baked, let it cool completely in the pan before lifting out using the parchment paper. Slice into bars as desired.
Transfer to plates and enjoy them as a nutritious snack that’s perfect on-the-go!
Tips and Tricks
Here are some helpful tips to ensure the best results for your dish:
- Ingredient Quality: Use fresh ingredients for optimal flavor; check expiration dates on dried fruits.
- Storage Options: Store leftover bars in an airtight container at room temperature or refrigerate for longer freshness.
- Customizable Flavors: Experiment by adding different spices like nutmeg or vanilla extract to enhance taste.
How to Serve Baked Oatmeal Trailside Treat Bars
This Baked Oatmeal Trailside Treat Bars is versatile and pairs wonderfully with:
- Yogurt: Creamy yogurt adds a tangy balance to the sweetness of the bars, making it a perfect breakfast or snack option.
- Fresh Fruit: Slices of banana or berries provide a fresh, juicy contrast that enhances the flavors while adding nutrients.
- Nuts and Seeds: A sprinkle of almonds or chia seeds boosts the protein content and adds a satisfying crunch.
Feel free to pair it with your favorite sides for a personalized meal!
Make Ahead and Storage
- Make Ahead: To save time, prepare the mixture up to one day in advance. Combine all dry ingredients and wet ingredients separately, then mix them before baking. Store the prepared mixture in the refrigerator for up to 24 hours before baking.
- Storing: After baking, allow the bars to cool completely. Store leftovers in an airtight container at room temperature for up to three days or refrigerate for up to a week. For longer storage, freeze the bars in individual portions wrapped in plastic wrap for up to three months.
- Reheating: To reheat, simply place the desired number of bars on a microwave-safe plate and cover with a damp paper towel. Heat in the microwave for about 20-30 seconds or until warmed through. Alternatively, you can reheat them in an oven at 350°F for about 10 minutes for a fresher taste and texture.
Suggestions for Baked Oatmeal Trailside Treat Bars
Use the Right Oats
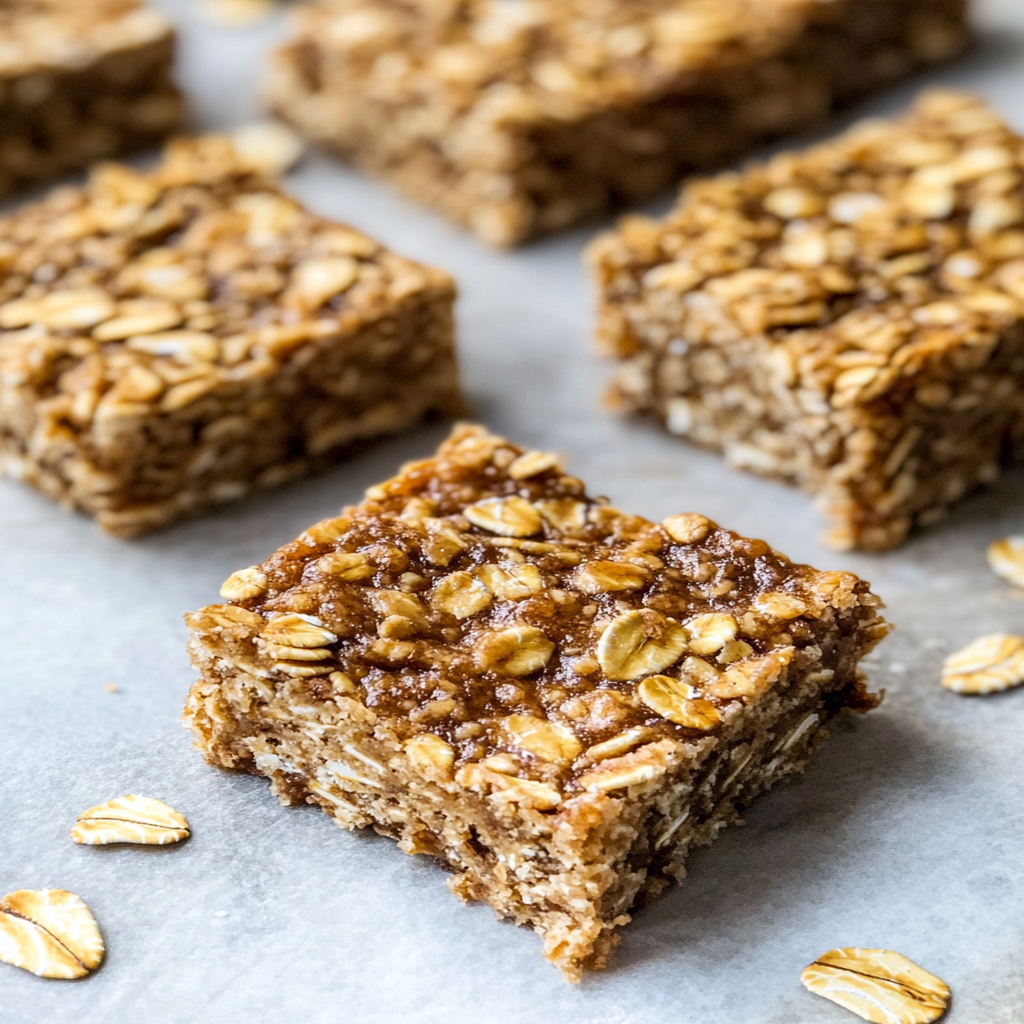
Choosing the proper type of oats is crucial for making Baked Oatmeal Trailside Treat Bars. Rolled oats are ideal because they provide the perfect texture and hold up well during baking. Avoid using instant oats, as they can become mushy and alter the consistency of your bars. Steel-cut oats also do not work well in this recipe since they require longer cooking times. Stick to rolled oats to get that chewy yet firm texture that makes these bars a delight for snacking on the trail.
Don’t Overmix Your Batter
Overmixing the batter for Baked Oatmeal Trailside Treat Bars can lead to dense and gummy results, which is not what you want. Mix just until all ingredients are combined; this will help retain a light and fluffy texture. If you see some lumps, that’s perfectly fine! They will bake out in the oven, ensuring a delightful bite every time. Remember, gentle mixing allows each ingredient to shine without creating an overly compact bar.
Adjust Sweetness to Your Taste
The sweetness level in your Baked Oatmeal Trailside Treat Bars can be adjusted according to personal preference. While many recipes suggest using honey or maple syrup, you might find them too sweet or not sweet enough. Start with a lower amount of sweetener, and taste your batter before pouring it into the baking dish. You can always add more if needed, but it’s harder to fix an overly sweet treat later on. Aim for a balanced sweetness that complements the oats and added fruits or nuts.
Choose Your Add-Ins Wisely
When making Baked Oatmeal Trailside Treat Bars, selecting the right mix-ins can elevate your recipe significantly. Dried fruits like cranberries or apricots add natural sweetness and chewiness, while nuts provide a satisfying crunch. However, avoid adding too many mix-ins as they can interfere with the structure of your bars. A good rule of thumb is to limit yourself to about one cup of add-ins per batch. This ensures that every bite remains cohesive and enjoyable without being overloaded.
FAQs
What are Baked Oatmeal Trailside Treat Bars?
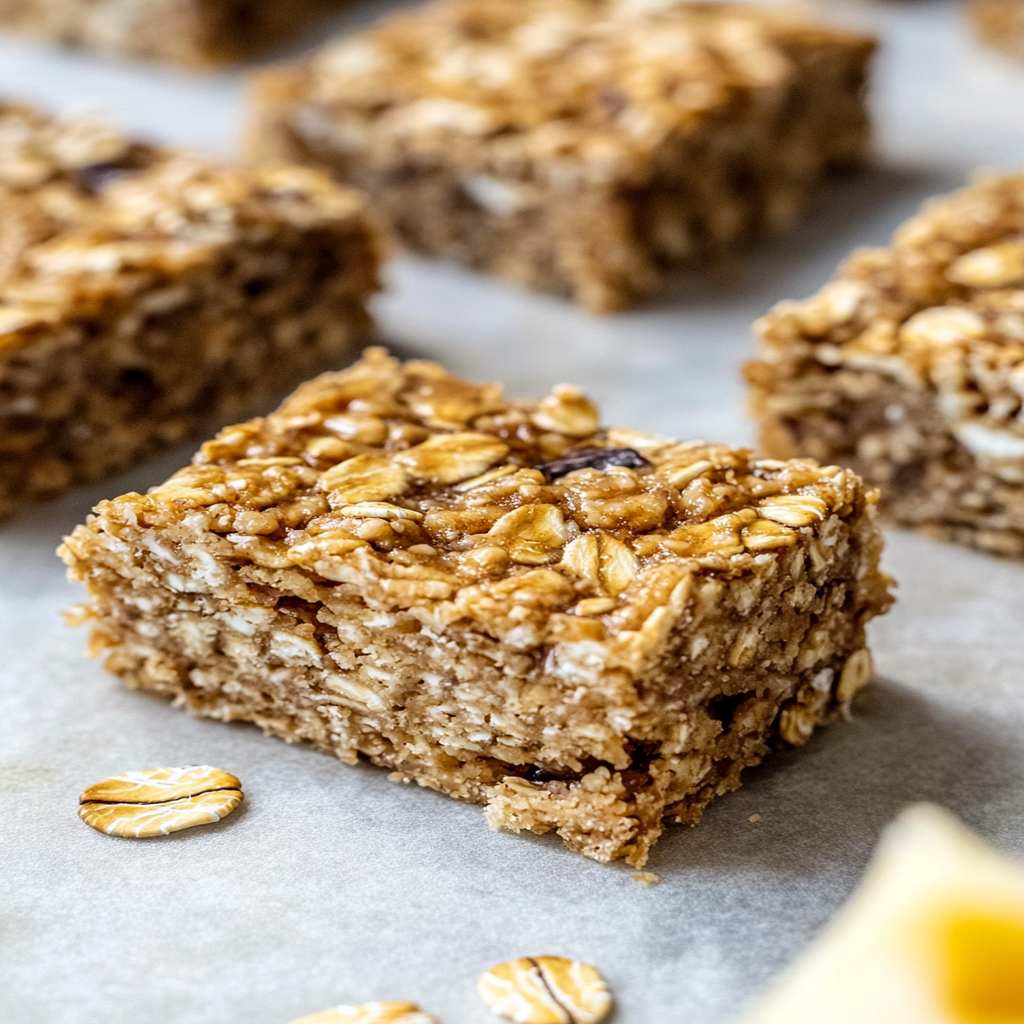
Baked Oatmeal Trailside Treat Bars are a convenient snack made primarily from oats, mixed with various add-ins like dried fruits and nuts. They offer a nutritious option for hikers or anyone looking for a quick energy boost throughout their day. These bars are baked until firm but chewy, making them easy to pack and take along on outdoor adventures. The combination of wholesome ingredients provides sustained energy while also being deliciously satisfying.
How long do Baked Oatmeal Trailside Treat Bars last?
Properly stored Baked Oatmeal Trailside Treat can last up to one week at room temperature in an airtight container. For longer storage, consider refrigerating them where they can last up to two weeks. If you want even more longevity, you can freeze individual portions wrapped tightly in plastic wrap or foil; they will stay fresh for up to three months in the freezer. Just remember to thaw them overnight when you’re ready to enjoy!
Can I customize my Baked Oatmeal Trailside Treat Bars?
Absolutely! One of the best aspects of Baked Oatmeal Trailside Treat is their versatility. Feel free to swap out different fruits, nuts, or seeds based on your preferences or dietary needs. You could replace walnuts with almonds or use raisins instead of cranberries—experimenting is key! Additionally, you can adjust spices like cinnamon or nutmeg for added flavor complexity without altering the core recipe too much.
Are Baked Oatmeal Trailside Treat Bars gluten-free?
Yes, you can make gluten-free Baked Oatmeal Trailside Treat by choosing certified gluten-free rolled oats. Many brands offer gluten-free options that ensure no cross-contamination occurred during processing. Always check ingredient labels when selecting additional components like nuts and dried fruits since some may contain gluten additives or be processed in facilities that handle gluten-containing products.
Conclusion for Baked Oatmeal Trailside Treat Bars
In summary, preparing Baked Oatmeal Trailside Treat requires careful attention to ingredient selection and mixing techniques for optimal results. By using rolled oats and avoiding overmixing, you’ll achieve a delightful texture that keeps these bars light yet filling. Adjusting sweetness levels allows customization according to personal taste while being mindful of mix-ins ensures structural integrity in every bite. With proper storage methods, these tasty treats provide nutrition and energy whenever you need them most—whether on a hiking trip or simply during busy days at home!
[tasty-recipe id=”3606″]

Leave a Comment