
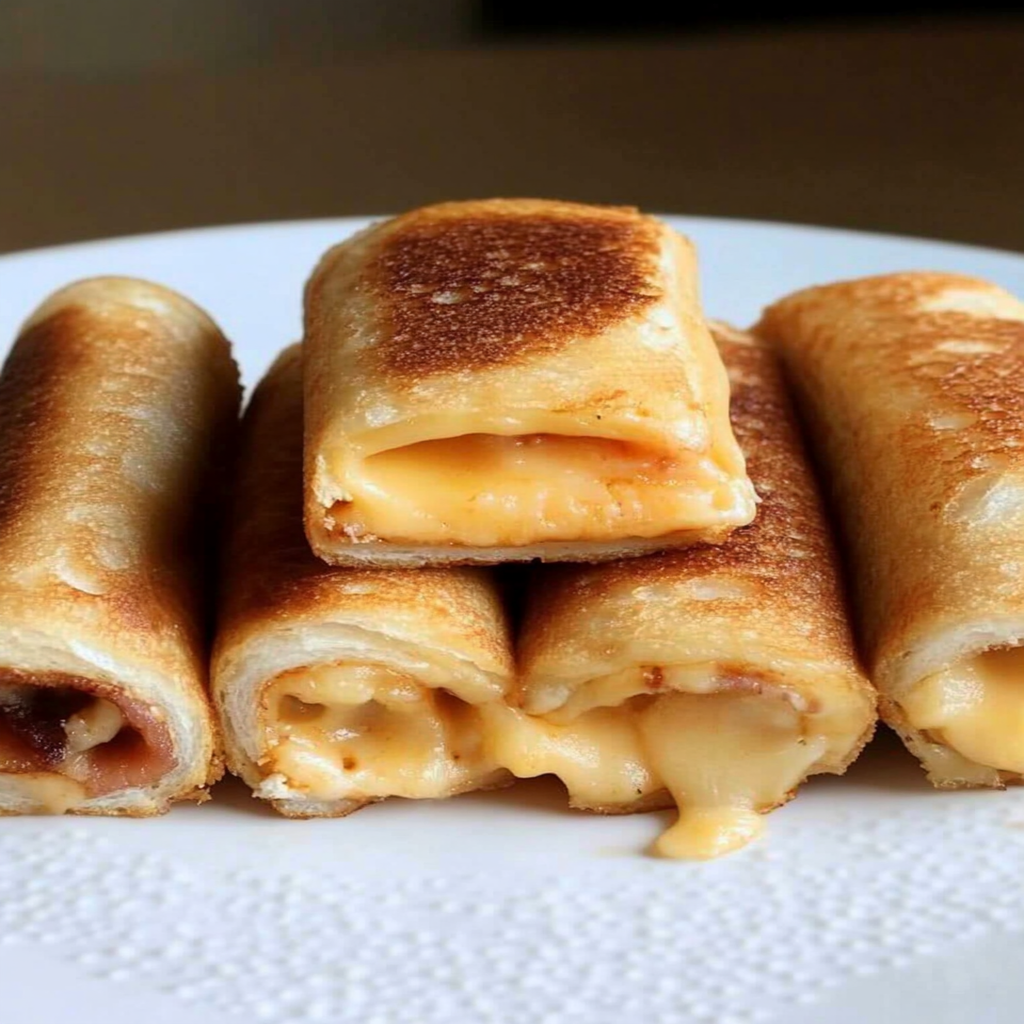
Grilled Cheese Roll Ups are a delightful twist on the classic sandwich that everyone loves. This dish combines gooey melted cheese with crispy bread in a fun and easy-to-eat format. Perfect for kids’ lunchboxes or as a quick snack for adults, these roll-ups are sure to be a hit at any gathering. With just a few simple ingredients, you can whip up these tasty treats in no time. Imagine biting into a crunchy exterior that gives way to warm, stretchy cheese it’s an irresistible combination that will leave everyone wanting more. Whether you’re hosting a party or looking for a weekend treat, these roll ups can be customized with your favorite ingredients. In this article, you’ll find everything you need to know about making the best Grilled Cheese Roll Ups, including tips for perfection and variations to try. So grab your bread and cheese, and let’s get cooking!
Why You’ll Love This Grilled Cheese Roll Ups
- Quick and Easy: Minimal prep time and straightforward steps make this recipe stress-free, even for novice cooks
- Flavorful and Versatile: Enjoy outstanding flavor with ingredients you can easily customize by adding your favorites or adjusting spices
- Perfect for Any Occasion: Ideal for casual gatherings, holiday celebrations, or weeknight dinners
Ingredients for Grilled Cheese Roll Ups
Here’s what you’ll need to make this delicious dish:
- Bread: Use soft white bread or whole wheat; ensure it’s fresh for the best texture when rolling.
- Cheese: Choose your favorite melting cheeses such as cheddar or mozzarella; feel free to mix varieties.
- Butter: Use unsalted butter for spreading on the outside of the rolls; it helps achieve a golden-brown crust.
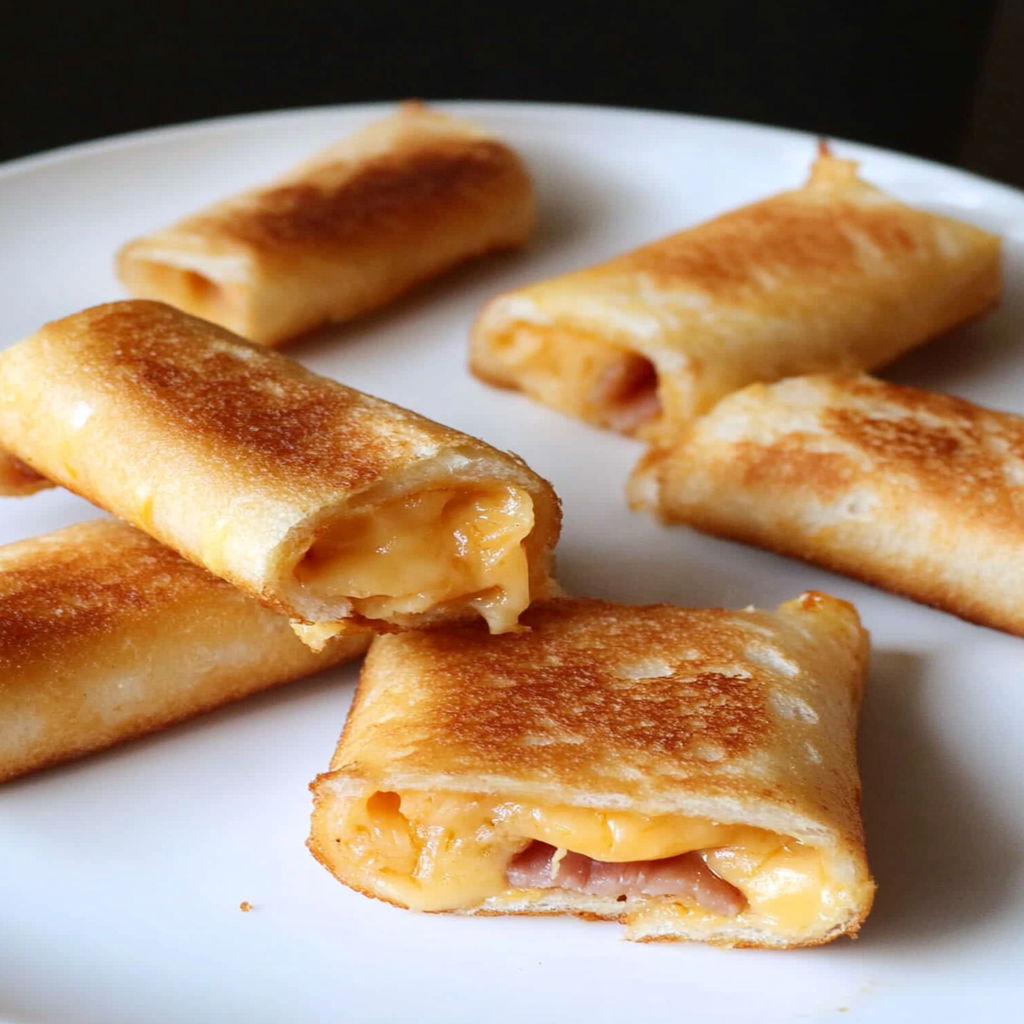
- Optional Fillings: Add ham, pepperoni, or vegetables if desired; these enhance flavor and add nutrition.
The full ingredients list, including measurements, is provided in the recipe card directly below.
How to Make Grilled Cheese Roll Ups
Follow these simple steps to prepare this delicious dish:
Step 1: Prepare the Bread
Start by removing the crusts from each slice of bread using a sharp knife. This step ensures easier rolling.
Step 2: Flatten the Bread
Use a rolling pin to flatten each slice of bread gently until they are thin but not torn. This makes them easier to roll up with the filling.
Step 3: Add Cheese
Place shredded cheese along one edge of each flattened slice of bread. If you’re using optional fillings like ham or peppers, add them on top of the cheese.
Step 4: Roll Up
Carefully roll each slice of bread tightly around the filling from one edge to the other. Secure it by pressing gently as you go.
Step 5: Butter the Outside
Spread a thin layer of butter over each rolled-up bread piece on all sides; this coating will help achieve that crispy exterior while cooking.
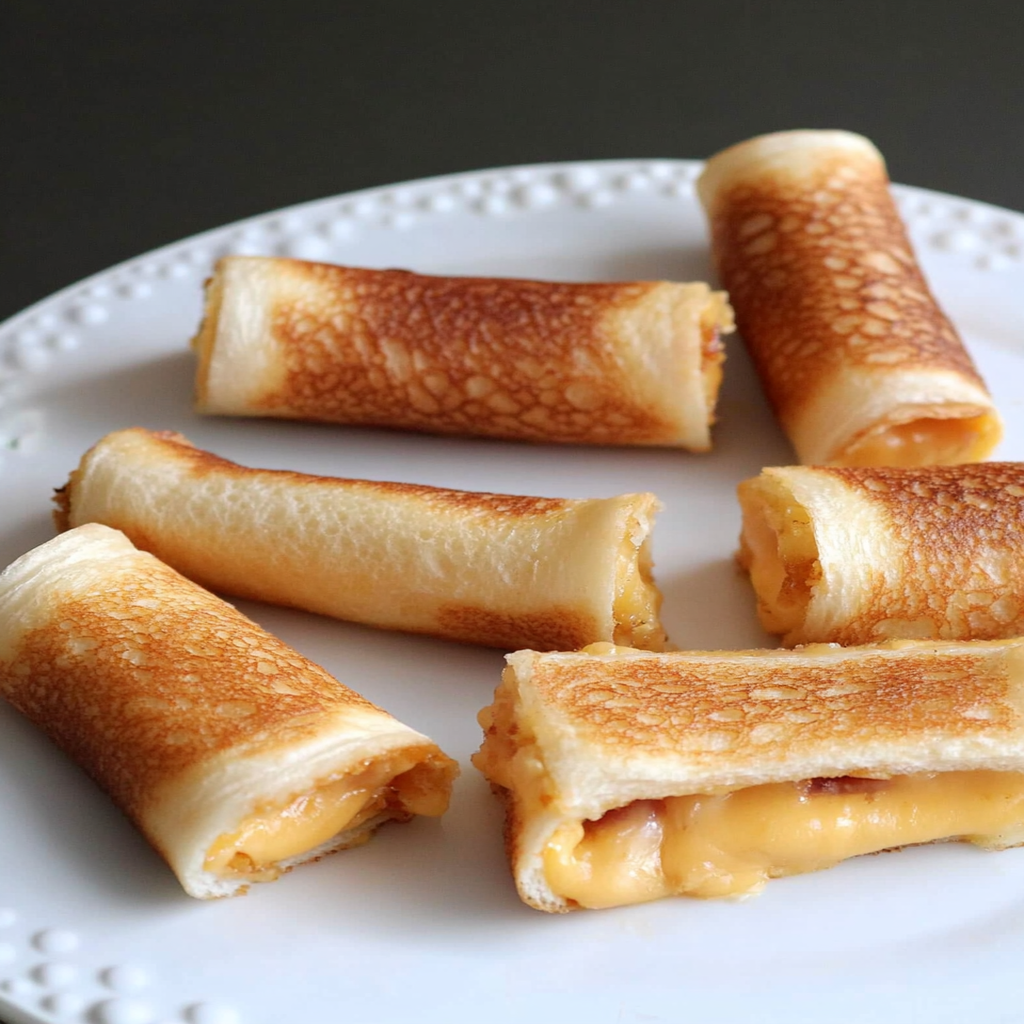
Step 6: Cook Until Golden
In a skillet over medium heat, place the rolls seam-side down. Cook until golden brown on all sides, approximately two minutes per side. Transfer to plates and serve immediately.
Tips and Tricks
Here are some helpful tips to ensure the best results for your dish:
- Use Fresh Ingredients: Fresh bread and good-quality cheese will yield better flavor and texture.
- Slicing Technique: Cut fillings into small pieces so they distribute evenly inside the rolls without overpowering them.
- Cooking Temperature: Moderate heat allows the cheese to melt thoroughly without burning the bread.
How to Serve Grilled Cheese Roll Ups
This Grilled Cheese Roll Ups is versatile and pairs wonderfully with:
- Tomato Soup: The classic pairing that enhances the cheesy goodness with a warm, rich flavor.
- Fresh Fruit: A sweet contrast that balances the savory cheese and adds a refreshing touch.
- Pickles: Their tanginess cuts through the richness of the cheese, providing a delightful crunch.
Feel free to pair it with your favorite sides for a personalized meal!
Make Ahead and Storage
- Make Ahead: You can prepare Grilled Cheese Roll Ups up to one day in advance. Simply roll up the bread with cheese inside, wrap them tightly in plastic wrap, and store them in the refrigerator. This keeps them fresh for about 24 hours before cooking.
- Storing: Store any leftovers in an airtight container in the refrigerator. They will keep well for up to three days. For longer storage, consider freezing them. Wrap each roll tightly in foil or plastic wrap, then place them in a freezer bag where they can last for up to two months.
- Reheating: To reheat, preheat your oven to 350°F (175°C). Place the roll-ups on a baking sheet lined with parchment paper and cover them loosely with aluminum foil. Heat for about 10-15 minutes until warmed through. For added crispness, remove the foil for the last few minutes of heating.
Suggestions for Grilled Cheese Roll Ups
Use Fresh Ingredients
Using fresh ingredients is crucial when making grilled cheese roll ups. Stale bread or expired cheese can significantly affect the flavor and texture of your dish. Always choose high-quality cheese, like cheddar or mozzarella, and opt for bread that is soft and fresh. This not only enhances the taste but also ensures that your roll ups achieve the perfect crispy exterior while maintaining a gooey interior. Fresh ingredients also contribute to better nutritional value, making your meal not just delicious but also healthier.
Avoid Overstuffing
While it might be tempting to load up your grilled cheese roll ups with excess fillings, this can lead to soggy rolls or difficulty in rolling them properly. Stick to a moderate amount of cheese and any additional ingredients you wish to include, such as vegetables or meats. A good rule of thumb is to use one or two slices of cheese per roll up. This balance allows for even melting without overwhelming the bread, ensuring a delightful bite every time.
Don’t Skip the Cooking Time
Paying attention to cooking time is vital for achieving perfectly golden grilled cheese roll ups. If you rush the process, the bread may burn before the cheese has a chance to melt completely. Use medium heat and give each side about three to four minutes of cooking time. Keep an eye on them; flipping too early can disrupt the melting process. Proper cooking time ensures a crispy exterior and a perfectly gooey interior that everyone will love.
Experiment with Dipping Sauces
Dipping sauces can enhance your grilled cheese roll ups immensely. However, choosing the wrong sauce can overpower or clash with the flavors of your roll ups. Consider classic pairings like marinara sauce or creamy ranch dressing that complement rather than compete with the rich flavors of melted cheese and crunchy bread. If you’re feeling adventurous, try making a spicy aioli or a sweet pepper dip for an exciting twist that elevates your dish even further.
FAQs
What type of bread is best for grilled cheese roll ups?
Choosing the right type of bread is essential for crafting delicious grilled cheese roll ups. Opt for soft breads like white sandwich bread, whole wheat, or sourdough for optimal results. These types will toast nicely while providing enough flexibility to roll without cracking. Avoid using overly crusty artisan breads as they can make rolling difficult and might not yield that desired gooey center once cooked.
Can I make grilled cheese roll ups in advance?
Yes, you can prepare grilled cheese roll ups in advance! To do this effectively, assemble your roll ups but do not cook them right away. Store them in an airtight container in the refrigerator for up to 24 hours before cooking. When you’re ready to enjoy them, simply heat them on a skillet until they are golden brown and crispy on all sides, ensuring that the cheese melts beautifully inside.
Are there vegetarian options for grilled cheese roll ups?
Absolutely! Vegetarian options abound when it comes to creating flavorful grilled cheese roll ups. You can incorporate various vegetables such as spinach, tomatoes, bell peppers, or mushrooms along with your choice of cheese. Adding herbs like basil or oregano can also enhance flavors while keeping it meat-free and satisfying.
How can I customize my grilled cheese roll ups?
Customizing your cheese roll ups opens a world of flavor possibilities! Start by selecting different types of cheeses like gouda or pepper jack for distinct tastes. You can also experiment with fillings such as sautéed onions, jalapeños for heat, or even sweet elements like apple slices paired with sharp cheddar. The beauty lies in mixing and matching ingredients based on personal preferences.
Conclusion for Grilled Cheese Roll Ups
In summary, creating delightful cheese roll ups involves using fresh ingredients, avoiding overstuffing, paying attention to cooking times, and experimenting with dipping sauces. By following these suggestions carefully, you will achieve not just great taste but also an appealing presentation that impresses friends and family alike. Additionally, exploring various customization options allows you to tailor each batch according to personal preference while ensuring a delicious result every time you prepare these cheesy delights! Enjoy making these tasty treats as fun snacks or satisfying meals any day!
[tasty-recipe id=”4724″]
Leave a Comment